|
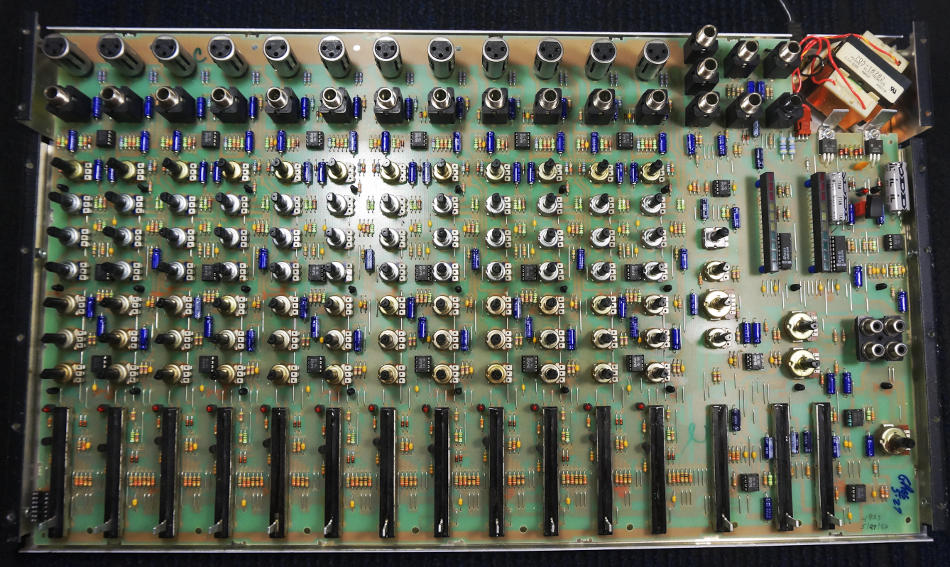
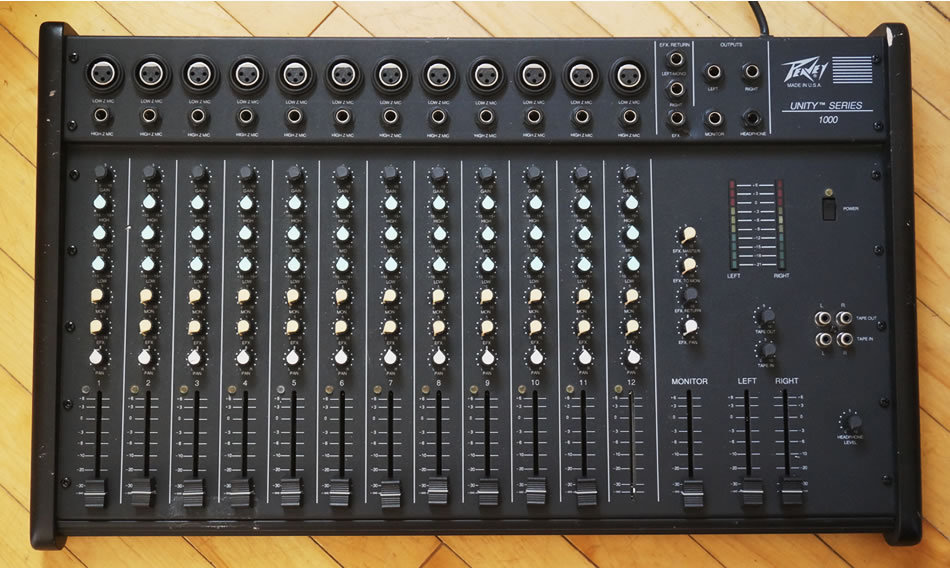
Peavey Unity Series 1000 (12-ch) Mixer This mixer came to me with no sound from the Master Left and Right outputs. A quick visual inspection indicates the mixer is in excellent condition. There are no signs of heavy use or abuse. No ugly tape residues, no rust, no cigarette smoke stench. She seems to have been lightly used and well cared for. The first order of the day is to disassemble the mixer. This is where I met my first obstacle. Normally, all it takes is to remove the screws and one would have access to the pcb but not with this mixer. She is held in place by two plastic strips, one at the rear and the other at the front. I started out by sliding out the rear plastic strip, followed by the front. Even then, the top cover would not open because it is held in place by some kind of plastic rivets at the sides. I ended up with using a screwdriver to pry it open. Obviously, this damaged all the plastic rivets but I’ll deal with that later. Finally, I lifted the top cover and this is what the Peavey Unity 1000 looks like on the inside.
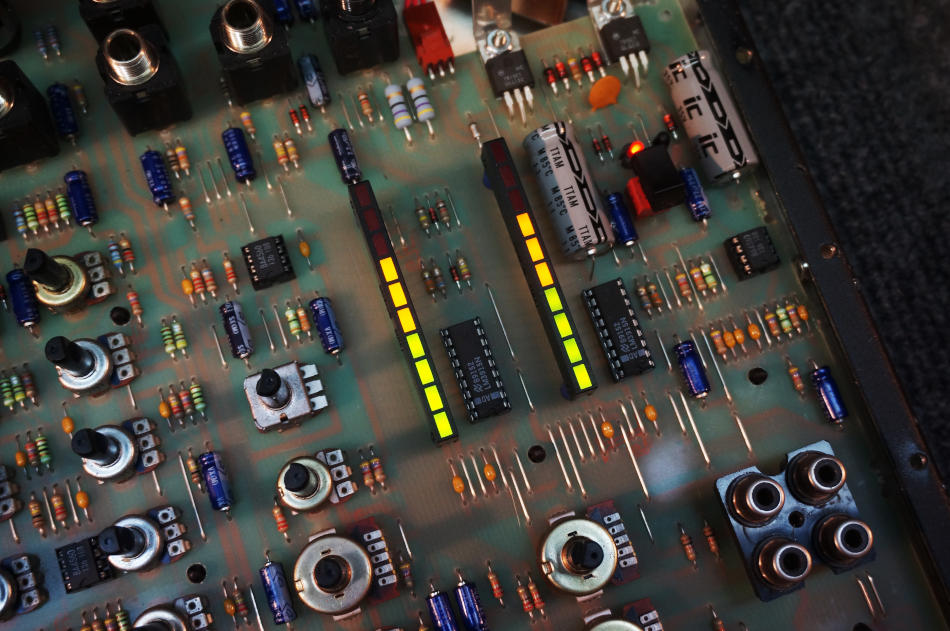
Unlike most vintage mixers which have channel strips, the Unity 1000 is one huge pc board. Everything is there. No ribbon cables to connect all the channels. No nothing.
At top right is a shielded power transformer. Below it are the 7815 and 7915 voltage regulators attached to some small heatsinks. No desoldering is needed to detached the transformer. Simply pull out the brown connector and the Ground wire (Black cable).
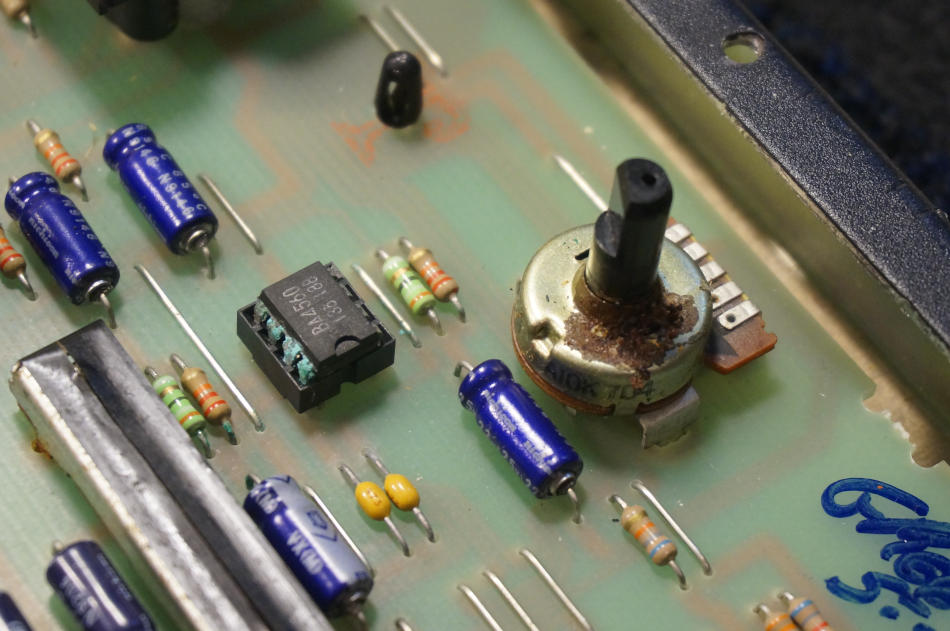
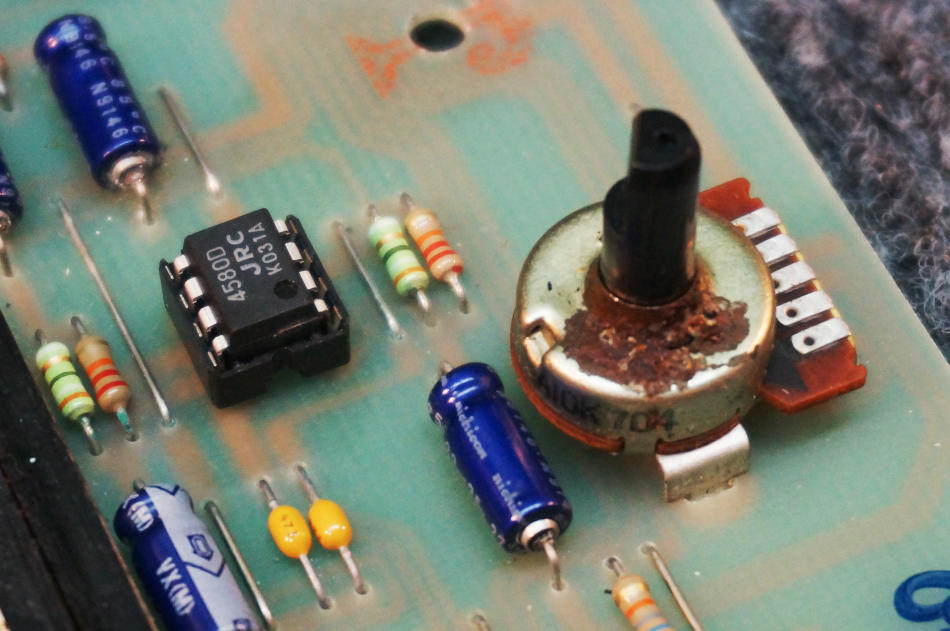
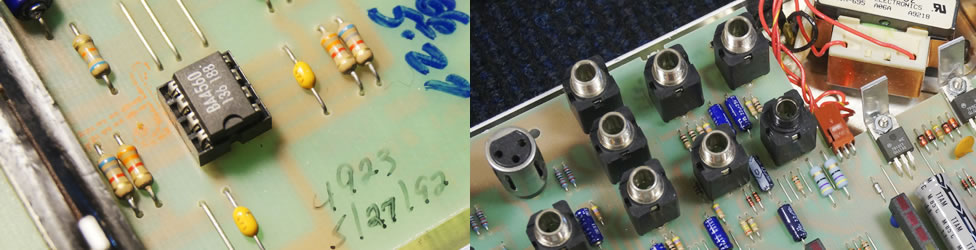
A quick visual inspection shows an IC with pins that are highly oxidized IC. Apparently some liquid found it’s way into the board as the pot to the right has some rust as well. To rectify this, I had to desolder the IC holder. That meant detaching the pcb.
To do that, I had to click on the small tabs on the plastic stand-offs that the pcb is resting on. I started on the left column and worked my way to the right. Eventually, the pcb is free and can be lifted away. So far so good. Nothing broke except for those pesky plastic rivets.
With access to the underside, I desoldered the IC holder and replaced it with a new one. At the same time, I replaced the 4560 with the newer 4580. The pot on the right is working properly so there’s no need to replace it.
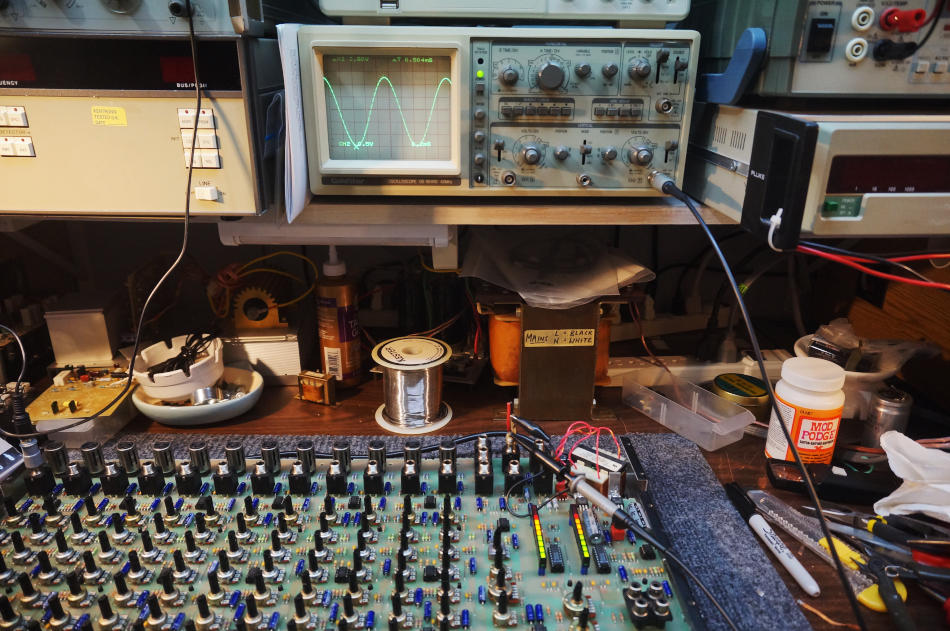
Now that the damaged IC is replaced, I connected back the transformer and powered up the Unity. Send a signal in and the Channel LEDS lit up. So far, it looks promising. For a comprehensive test, I hooked up my scope and tested every channel.
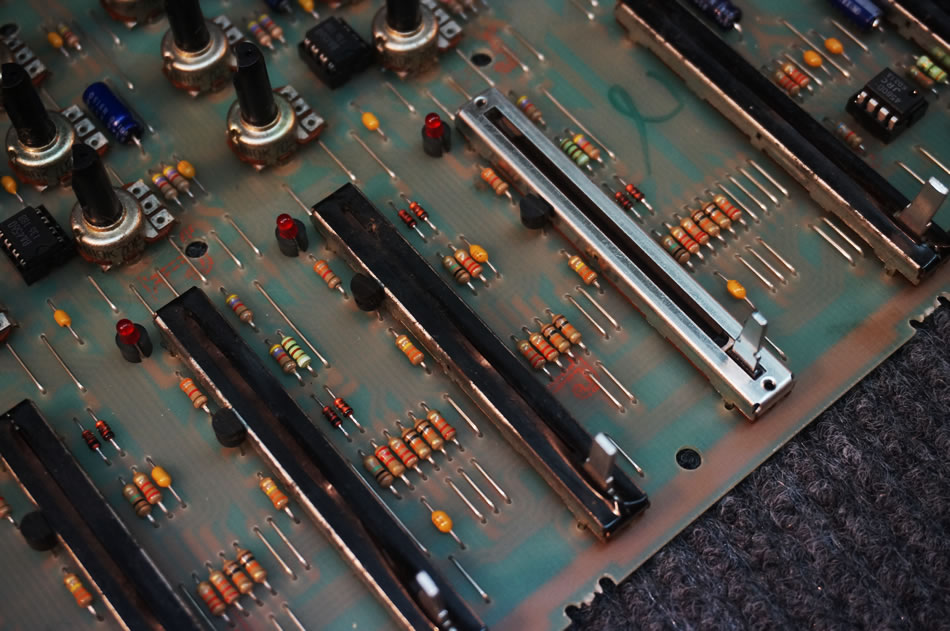
All the pots are in good working order. No crackling sound when rotated. All faders are working, even the one at Ch-12 which has the shaft broken off. As for the connectors, I didn’t find any solder fracture in all the XLR and 1/4″ Phone jacks.
I contacted Peavey Customer Service about the Unity faders but was told they don’t stock them anymore. That is not surprising as this particular mixer was manufactured in 1992. I found a Bourns 10KA at Mouser that fits the mounting holes exactly and proceeded to replace the original one with the broken shaft. All’s good until I tested it out with a scope. To my dismay, the response of the new fader is anti-log. My initial reaction is perhaps Mouser shipped the anti-log faders by mistake. I checked the rest (I ordered 10 pieces) and they are all indeed log faders. It was then that I compared the pins of the Peavey fader with that of the Bourns. Horror of horrors, the pin assignments are not the same. That was something I didn’t expect. Now I’m in a bind. The easiest solution is to cannilbalize a fader from another Unity mixer. Problem is I don’t have a condemned Unity in hand. Another way is to try to rewire the Bourns from the inside. That in itself may not be feasible. Neither do I want to cut the tracks on the pcb. Without much of a choice, I’ll rather leave the Bourns fader in place for the time being as I’m eager to reassemble this mixer.
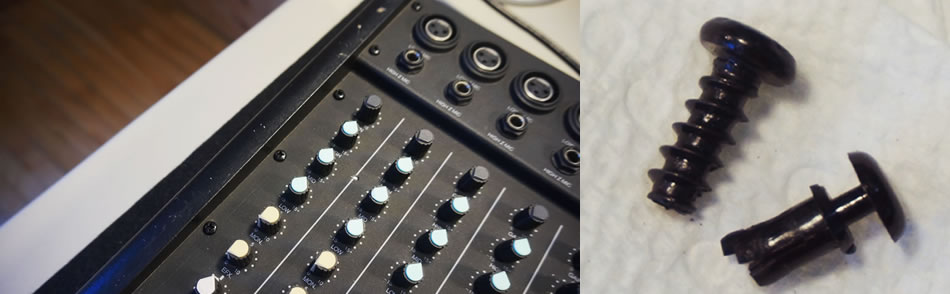
I should point out that the Unity mixers were designed for quick assembly. I have no issues with that. However, I was thoroughly annoyed by their use of plastic rivets (top right). That’s no way I can reuse them. I finally found some black M4 self tapping screws and to my relief, they did the job splendidly. The photo on the left shows the top plate secured with the new M4 screws.
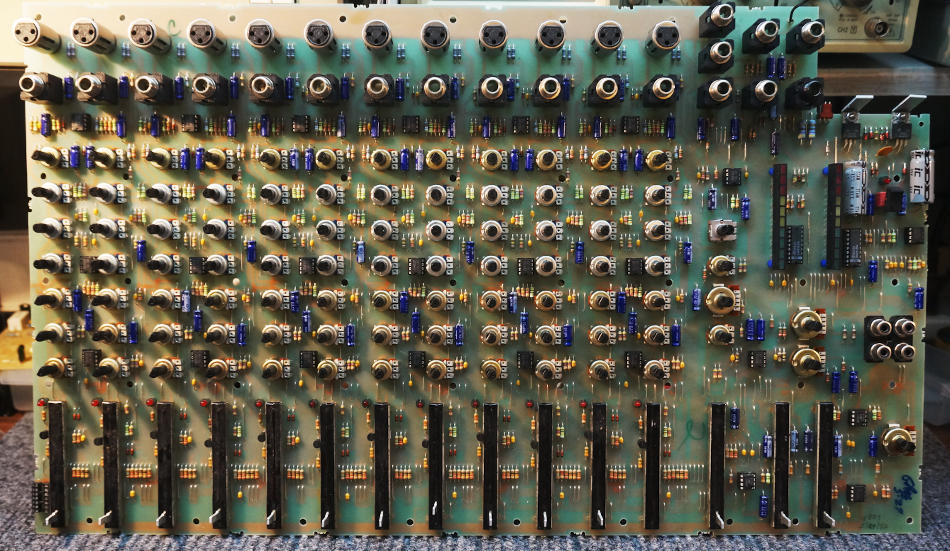
The photo above is the Unity 1000 mixer reassembled. Every channel works perfectly except for channel 12. The channel works fine, just that the fader is not log. Most importantly, there’s output from the Master Left and Right as well as the Monitor Out. This Unity 1000 mixer is ready to be put back into service. |
July 28, 2021Articles